Red Hat has provided two GUI tools for centralized management of remote nodes using Ansible.
- Ansible Tower
- AWX
Ansible Tower is a web-based interface and REST API endpoint for Ansible. It provides centralized logging and auditing, role-based access control and push-button deployment.
AWX is an automation utility based on Ansible Tower that provides a web graphical interface, REST API as well as a task engine that allows users to manage their Ansible projects. In other words we can AWX is an open source version of Anisble Tower. With AWX, you can perform a number of tasks including inventory management, workflow automation, job scheduling, managing credentials and reporting to mention just a few.
One advantage with AWX is that you get to leverage all the enterprise features that ship with Ansible Tower for an unlimited number of nodes. In other words, the 10-node limit doesn’t apply to AWX. Additionally, AWX is ideal for lab or development environments. It’s however not considered an ideal tool for production environments compared to Ansible Tower.
AWX needs a containerized environment to function. A couple of options that support AWX include Kubernetes, OpenShift and Docker Compose. In this guide, however, we are going to use Docker compose because it’s quite easy to set up and is resource friendly.
Requirements for Ansible AWX
Before we get started, ensure that the CentOS 8 node has the following:
- 4 GB of RAM
- 3.4 GHz CPU with 2 Cores
- 20 GB of Hard disk space
- CentOS 8 needs to be running Openshift, Docker or Kubernetes
- Ansible needs to be already installed
With all the requirements fulfilled, let’s get the ball rolling!
Step 1) Install EPEL on CentOS 8
Begin by installing EPEL on CentOS 8 node because it provides some of the quintessential packages required by AWX. Therefore, log in as root user to your CentOS 8 node and run the command:
[root@awx-ansible ~]# dnf install epel-release -y
Step 2) Install additional packages and dependencies
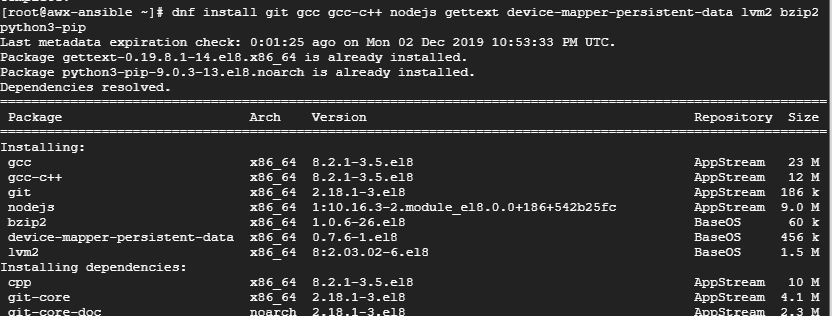
Additionally, we need to take an extra step and install essential packages that will be required as we get along with the installation of AWX:
[root@awx-ansible ~]# dnf install git gcc gcc-c++ nodejs gettext device-mapper-persistent-data lvm2 bzip2 python3-pip
Sample Output
Step 3) Install Docker CE on CentOS 8
RedHat / CentOS no longer supports the direct installation of docker, so if you run dnf install docker-ce, you are going to run into an error. To install docker on CentOS 8, we need to append the Docker repository to the system using the dnf config-manager tool.
[root@awx-ansible ~]# dnf config-manager --add-repo=https://download.docker.com/linux/centos/docker-ce.repo
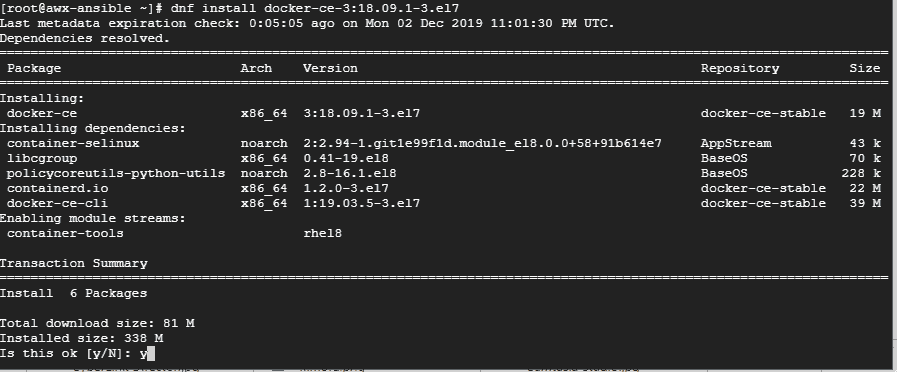
The next step is to install Docker, run the command:
[root@awx-ansible ~]# dnf install docker-ce-3:18.09.1-3.el7
Now, run the following command to know what exact version of docker we have installed.
[root@awx-ansible ~]# rpm -qa | grep docker
or
[root@awx-ansible ~]# docker --version
Now, proceed to start and enable docker using the commands
[root@awx-ansible ~]# systemctl start docker
[root@awx-ansible ~]# systemctl enable --now docker.service
With docker installed, we can now proceed to install Docker compose.
Step 4) Install Docker-Compose on CentOS 8
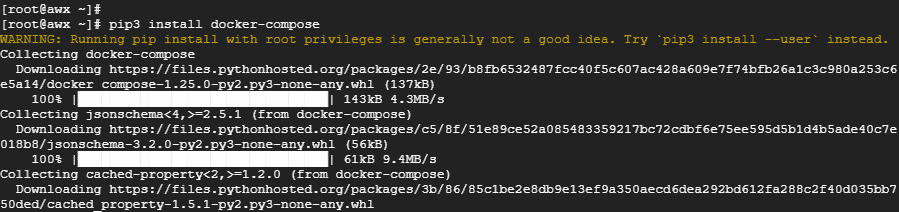
For the installation of docker-compose, we will use the pip command. Pip is python’s package manager that allows you to install python packages.
To install, we are going to use pip3 since the system is running using python3
[root@awx-ansible ~]# pip3 install docker-compose
Great! we can now proceed to install AWX.
Step 5) Install Ansible AWX
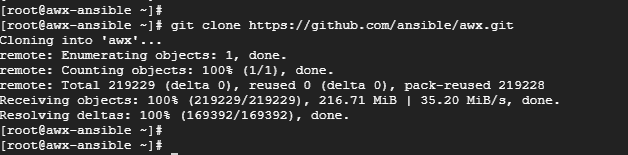
To install AWX, first clone the Git repo as shown:
[root@awx-ansible ~]# git clone https://github.com/ansible/awx.git
Next, navigate to the awx/installer directory and locate the inventory file. We need to adjust a few parameters:
Note: Don not forget to set the default python interpreter to python3
[root@awx-ansible ~]# cd awx/installer/
[root@awx-ansible installer]# vi inventory

localhost ansible_connection=local ansible_python_interpreter="/usr/bin/env python3"
postgres_data_dir=/var/lib/pgdocker
awx_official=true
project_data_dir=/var/lib/awx/projects
awx_alternate_dns_servers="4.2.2.1,4.2.2.2"
Equally crucial is the need to configure the Admin & Postgres password
pg_admin_password=postgrespass@123
admin_password=Linuxtechi@123
Thereafter, be sure to generate a cryptographic key for encryption of the inventory file
[root@awx-ansible ~]# openssl rand -base64 30

Copy the secret key and append it to the secret_key entry as follows in the inventory file,
secret_key=SGYsSWciI5yRDQeZuEm5wW98pQeJMG+ACABPsGfC
Save and exit the inventory file.
To confirm and print out the changes made, run the command:
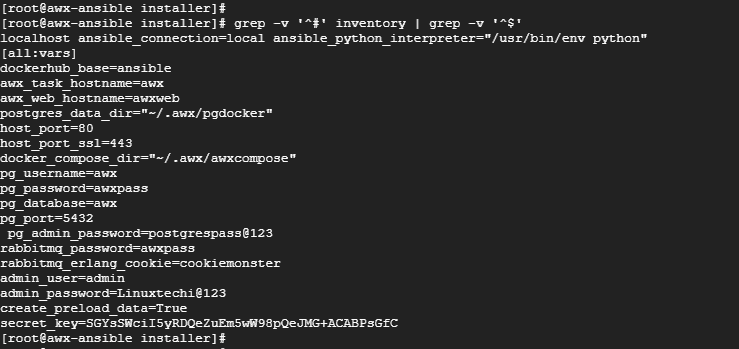
[root@awx-ansible installer]# grep -v '^#' inventory | grep -v '^$'
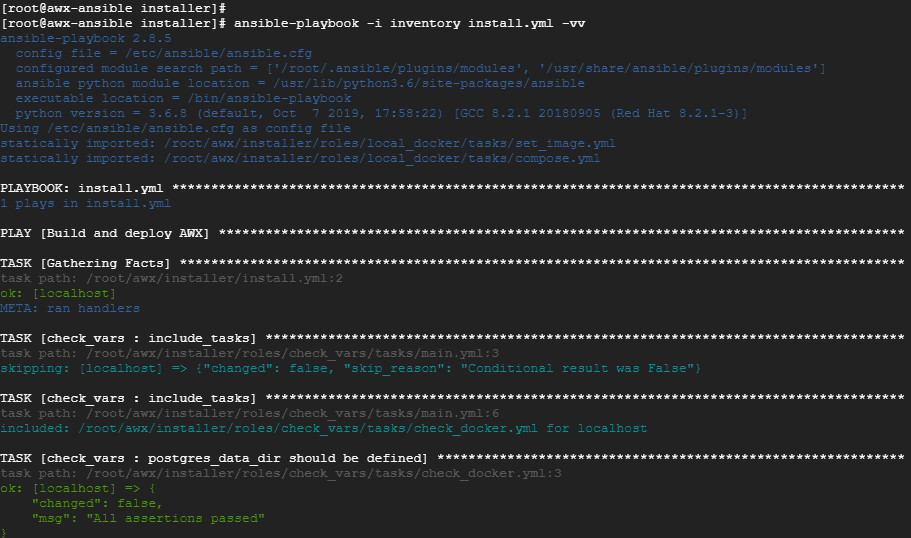
To install AWX run the Ansible command:
[root@awx-ansible installer]# ansible-playbook -i inventory install.yml
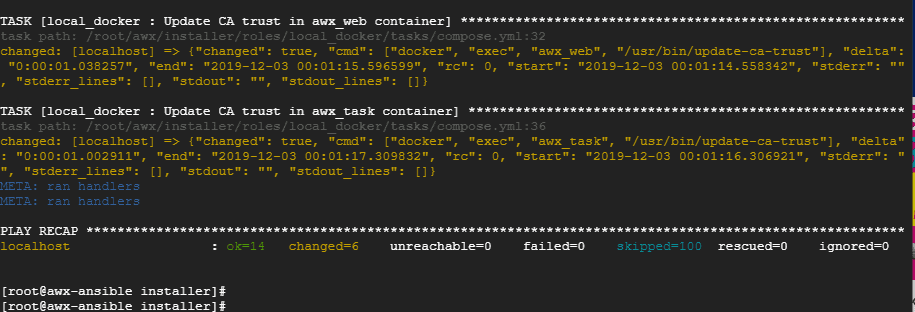
This takes about 4-5 minutes for docker to run the necessary containers and build containers, so relax and enjoy your cup of tea! The output below will be a confirmation that all went perfectly well.
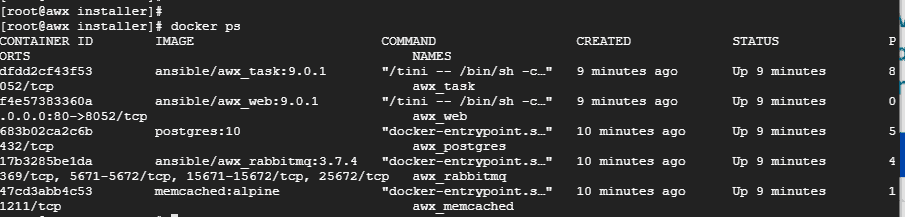
After the installation is done, you can check the containers which are launched via docker-compose
[root@awx-ansible installer]# docker ps
In Case OS firewall is enabled and running, then allow the http port (80) and https (443) using following commands,
[root@awx-ansible installer]# firewall-cmd --permanent --add-service=http
[root@awx-ansible installer]# firewall-cmd --permanent --add-service=https
[root@awx-ansible installer]# firewall-cmd --reload
Step 5) Accessing AWX GUI Portal
To access AWX web console, open your browser and type in your Ansible’s AWX server IP and hit ENTER.
http://awx-server-ip-address

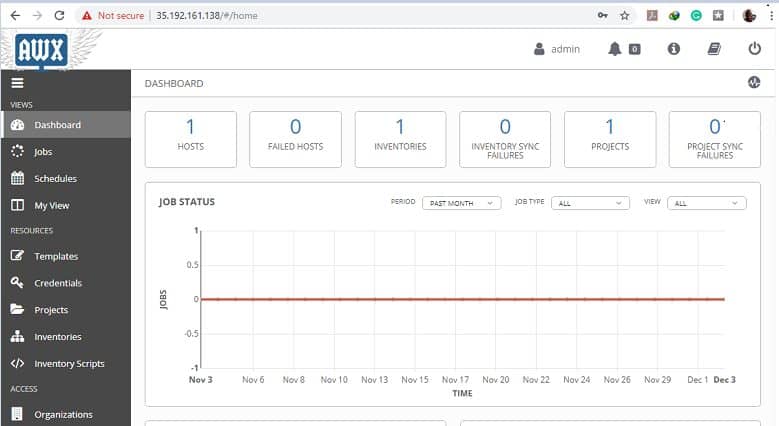
Provide the username and password for Admin and hit ENTER. This will thereafter display AWX’s dashboard as shown:
And that’s how you install AWX with docker-compose on a CentOS 8 server.