Nextcloud is a free and open source file hosting solution which allows the users to keep and sync their files, mails, contacts and calendars from their mobile devices and desktop client to nextcloud server. Nextcloud is founded by the co-founder of ownCloud ‘Frank Karlitschek‘
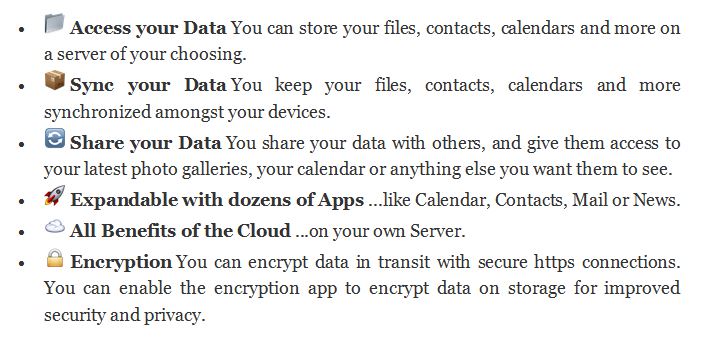
Some of the Key features of Nextcloud are listed below:
Perquisites to Install Nextcloud on RHEL 7 and CentOS 7
- Minimum of 512 MB RAM
- Web Server : Apache (httpd) / Nginx
- Database Server : MariaDB / MySQL / PostgreSQL
- PHP 5.4 +
Refer the following steps to install and configure Nextcloud 9 on CentOS 7.x and RHEL 7.x
Step:1 Install Apache Web Server, PHP and its dependent packages.
Use the below yum command to install Apache Web Server (httpd), PHP packages and its other dependent packages.
In the default CentOS and RHEL repositories PHP 5.4 packages are available
[root@nextcloud ~]# yum install httpd php php-mysql sqlite php-dom php-mbstring php-gd php-pdo php-json php-xml php-zip php-gd curl php-curl php-mcrypt php-pear
Start and enable Apache Web server’s service using beneath systemctl command :
[root@nextcloud ~]# systemctl start httpd ; systemctl enable httpd
Step:2 Install and Configure MariaDB database for Nextcloud
Run the below yum command to install MariaDB database.
[root@nextcloud ~]# yum install -y mariadb-server mariadb
Start and enable the MariaDB database service
[root@nextcloud ~]# systemctl start mariadb; systemctl enable mariadb
Execute the beneath command to set the root password for MaraiDB and configure other parameters like removing test database and disallow remoter root login
[root@nextcloud ~]# mysql_secure_installation
Create a Database with name ‘nextcloud_db’. Connect to the database with mysql command from the terminal and execute the below command
[root@nextcloud ~]# mysql -u root -p
Enter password:
Welcome to the MariaDB monitor. Commands end with ; or \g.
Your MariaDB connection id is 10
Server version: 5.5.47-MariaDB MariaDB Server
Copyright (c) 2000, 2015, Oracle, MariaDB Corporation Ab and others.
Type 'help;' or '\h' for help. Type '\c' to clear the current input statement.
MariaDB [(none)]> create database nextcloud_db;
Query OK, 1 row affected (0.00 sec)
MariaDB [(none)]>
Create a database user (nxtuser) and grant all the privileges to the user on the database ‘nextcloud_db‘
MariaDB [(none)]> grant all on nextcloud_db.* to 'nxtuser'@'localhost' identified by 'Nextcloud@123#';
Query OK, 0 rows affected (0.00 sec)
MariaDB [(none)]> FLUSH PRIVILEGES;
Query OK, 0 rows affected (0.00 sec)
MariaDB [(none)]> exit
Bye
[root@nextcloud ~]#
Step:4 Download the latest version of NextCloud
There are two ways to download latest version of nextcloud. Either Go to the nextcloud official site ‘https://download.nextcloud.com/server/releases/’ and download its latest version or we can download it from server’s command line using below wget command
[root@nextcloud ~]# wget https://download.nextcloud.com/server/releases/nextcloud-9.0.53.tar.bz2
Note: Please make sure wget and bzip2 packages are installed on your server, in case these packages are not installed then use the below command to install it.
[root@nextcloud ~]# yum install wget bzip2 -y
Extract the downloaded nextcloud ‘tar.biz2‘ file to Web Server’s document root (/var/www/html)
[root@nextcloud ~]# tar -jxpvf nextcloud-9.0.53.tar.bz2 -C /var/www/html/
Set the required permissions on nextcloud directory and its sub directories and files
[root@nextcloud ~]# cd /var/www/html/
[root@nextcloud html]# chown -R apache:apache nextcloud
Step:5 open the ports in firewall for nextcloud
In Case Firewall is running on your system then set the following firewall rules using ‘firewall-cmd‘ command.
[root@nextcloud ~]# firewall-cmd --permanent --zone=public --add-service=http
[root@nextcloud ~]# firewall-cmd --permanent --zone=public --add-service=https
[root@nextcloud ~]#  firewall-cmd --reload
In my Case I am putting selinux in permissive mod using below command
[root@nextcloud ~]# setenforce 0
Make it permanent by updating the below parameter in the file “/etc/sysconfig/selinux”
SELINUX=permissive
Step:6 Now Access nextCloud portal from Web Browser
Complete the nextcloud installation by accessing it from web browser.
http://<ip-address-your-server>/nextcloud
In my Case server’s ip address is “192.168.56.15”
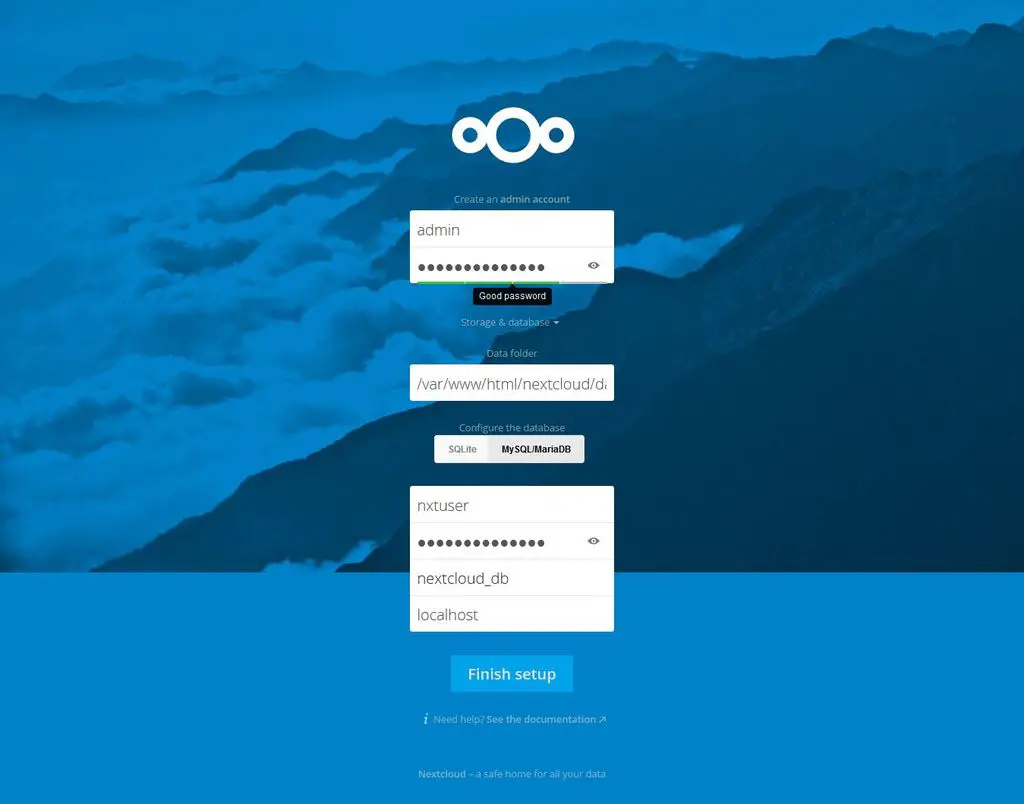
Specify the user name as admin and password that you want to set, Select the Database type as MariaDB and mentioned the database name, database user and its credentials. Once you’re are done with settings then click on finish Setup.
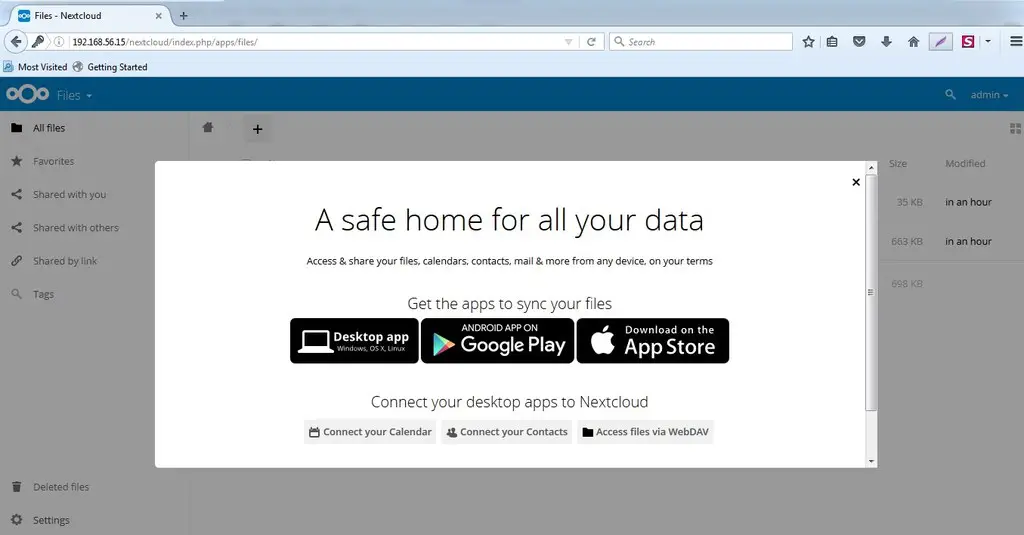
Select the application that you will be using for syncing your files. You can also skip this by clicking on cross symbol (x).
Step:7 Change the upload file size limit for nextcloud.
By default maximum of 2MB file can be uploaded on nextcloud, if you wish to upload files larger than 2 MB then we need to change some parameter value in /etc/php.ini
[root@nextcloud ~]# vi /etc/php.ini
…………………
post_max_size = 30M
upload_max_filesize = 30M
………………………
Restart the Web server’s Service
[root@nextcloud ~]# systemctl restart httpd
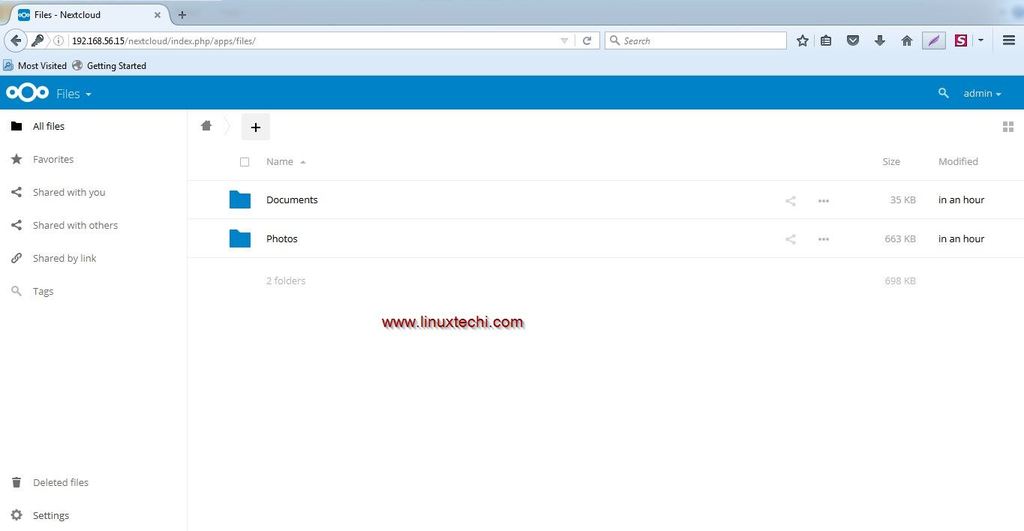
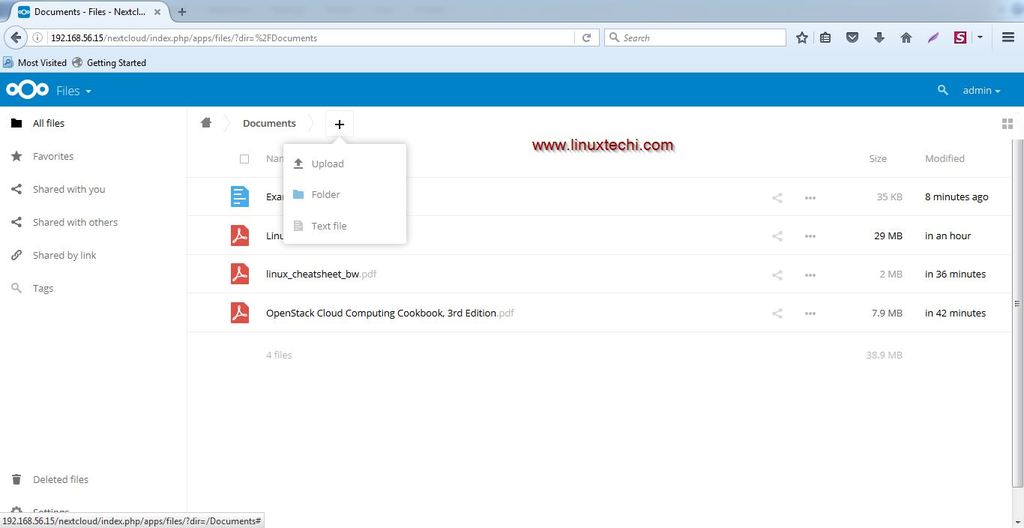
Now start uploading the files and share with your contacts
That’s all, Explore the Nextcloud and have fun 
